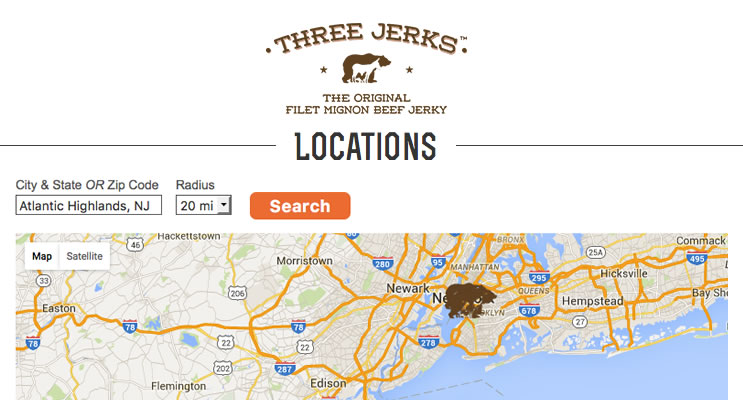
If you’re reading this, you likely have a Shopify Store and are interested in what Bullseye Locations can do to increase business and drive customers to your stores. Bullseye is a very powerful location service with an API that allows you to extend its core to create custom integrations. The Shopify Store Locator widget is a simple module built using the Bullseye API that serves the important purpose of allowing users to find your locations closest to them quickly and effortlessly.
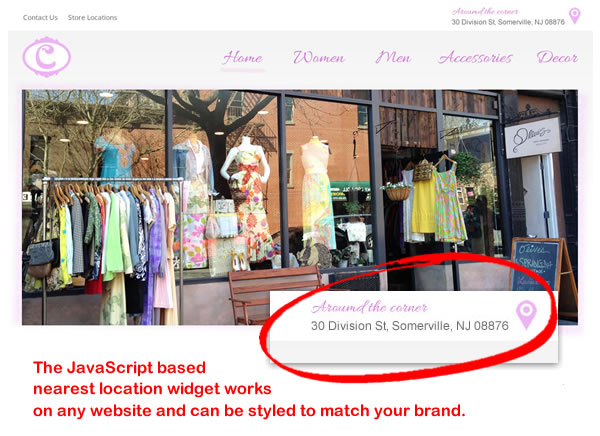
The widget shown above can be added anywhere you choose on a web page, and the look can be customized to match your site using stylesheets. To begin this tutorial, you should already have your Shopify Store set up and have some technical knowledge of how to use it and web technologies.
Let’s add this Shopify store locator widget to your Shopify store now
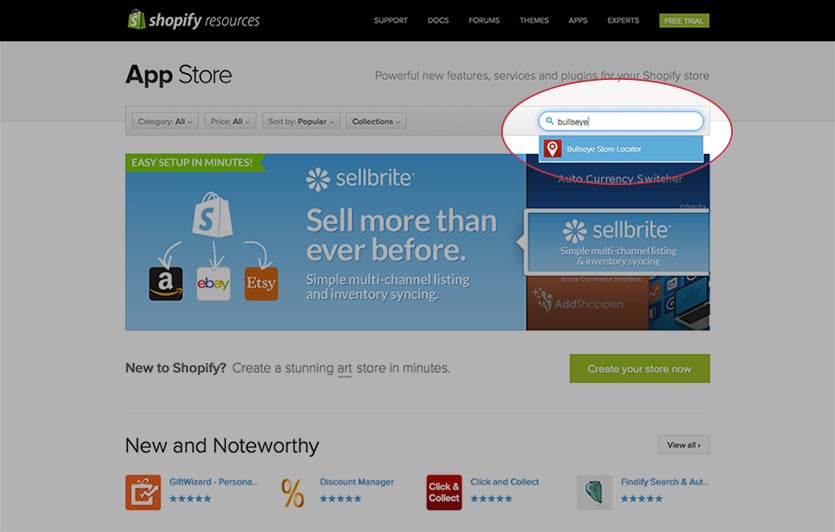
First, download and unzip the source code from our blog (https://www.bullseyelocations.com/blog/nearest-location-widget).
Next, log in to your Shopify store and go to Settings > Files and upload the two image files provided in the zipped folder you downloaded (ajax-loader.gif and map-icon.png). You can upload your own custom images if you’d like instead. To keep the set up to a minimum, rename your custom images to match the provided ones.
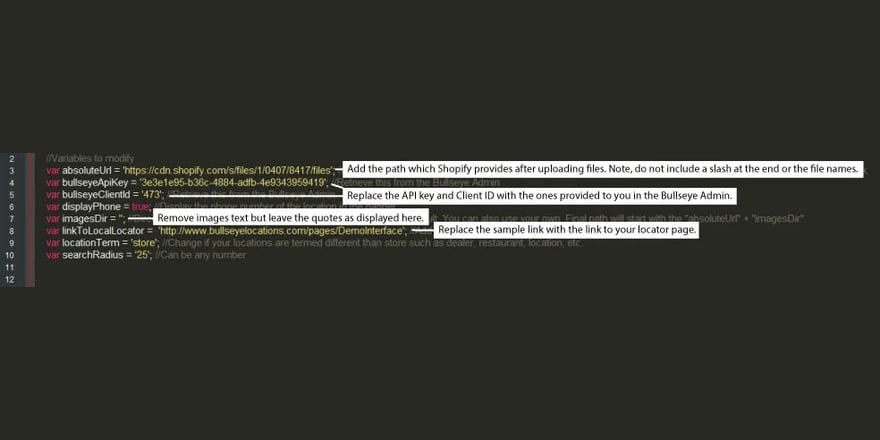
After you upload the images, the paths will be given to you. Open bullseye-nearest-location-
- Modify the “bullseyeApiKey” and “bullseyeClientId” variables to match yours from the Bullseye admin on the account page.
- Replace the variable “linkToLocalLocator” with your link to your locator page.
- Remove the “imagesDir” value as Shopify doesn’t allow directory structures when organizing the file uploads.
- Replace the “absoluteUrl” value with the path given to you when you uploaded the image to Shopify. Don’t include the filename or extension here, only the path. See screenshot below for more details.

After you’ve made the code changes above in the javascript file, make sure to save it. Then, go back to Shopify and upload it under Settings > Files as you did earlier with the two image files. Make sure to note the path to the file that you just uploaded as you’ll be using it shortly.
Now, edit the page where you want the Bullseye banner to appear. If you don’t have a page yet, you can create one. In the content editor of the page, toggle the source mode on (Click the button to the right that looks like two brackets “<>”). Paste the code shown below into your editor. You can also copy this code snippet from the “bullseye-banner-test.html” file that you downloaded and unzipped earlier. You only need the code snippets shown below. If your Shopify Store theme is already using jQuery, you won’t need to re-reference it. Most themes should.
<script src="https://cdn.shopify.com/s/files/1/0407/17/files/bullseye-nearest-location-banner.js" type="text/javascript"></script>
 <div id="bullseye-banner-header"></div>
Before saving the page, edit the script “src” attribute to use the JavaScript file that you uploaded to your store in the previous step.
Once you save the page, you’ll be able to see the widget working. The styles will be inherited from your site’s theme and may not look right. If you want to customize the look of it, you’ll need to do a bit more work which is more technical. You should have knowledge of HTML, CSS and know how to edit Shopify template files. You can find the theme files under Themes > Customize Theme > Template Editor.
Related Posts
How to Implement Successful Locator Onboarding

3 Types of Businesses that can Benefit from Local Pages

How Bullseye can Help Craft Liquor Companies

Get location marketing insights delivered straight to your inbox
“*” indicates required fields